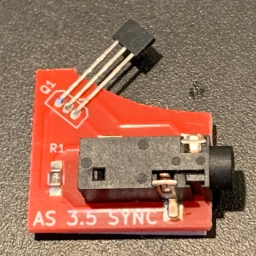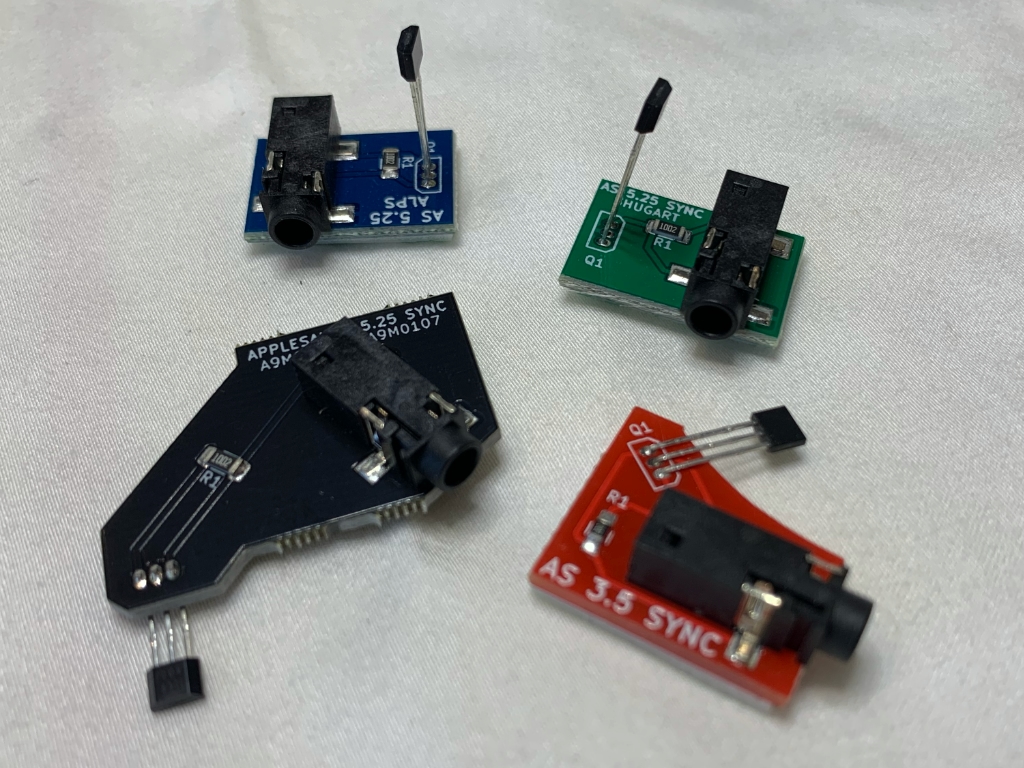
What is the purpose of a Sync Sensor?
A sync sensor provides a consistent point of reference in a floppy drive that doesn’t have an index sensor. It does this by sending a signal whenever the spindle that spins the disk reaches a fixed rotational position. By tracking the amount of time between signal pulses, we can determine the rotational speed of the disk. And it also gives us the ability to keep the exact alignment of data across all of the tracks.
Many copy protected programs for the Apple II and other computers relied on floppy disk tracks that were specially aligned to each other. This was not something that could easily be replicated with consumer floppy drives, but required specialized disk copier equipment. This made it much harder to copy. The Applesauce sync sensor enables your floppy drive to gather the rotational position of a floppy disk in order to capture these aligned tracks.
How do I pick the correct Sync Sensor for my drive?
There are currently 4 models of sync sensors for various drives. Each is a different color in order to make it easier to identify.
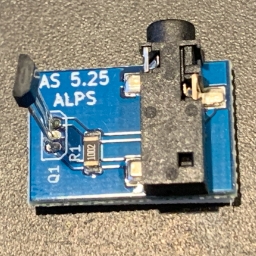
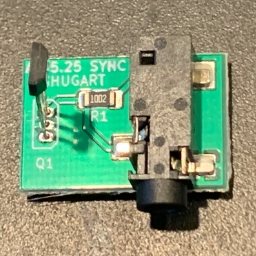
µ-sci A2
Rana EliteOne
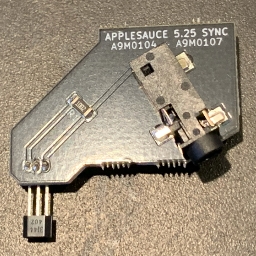
Apple 5.25 Drive
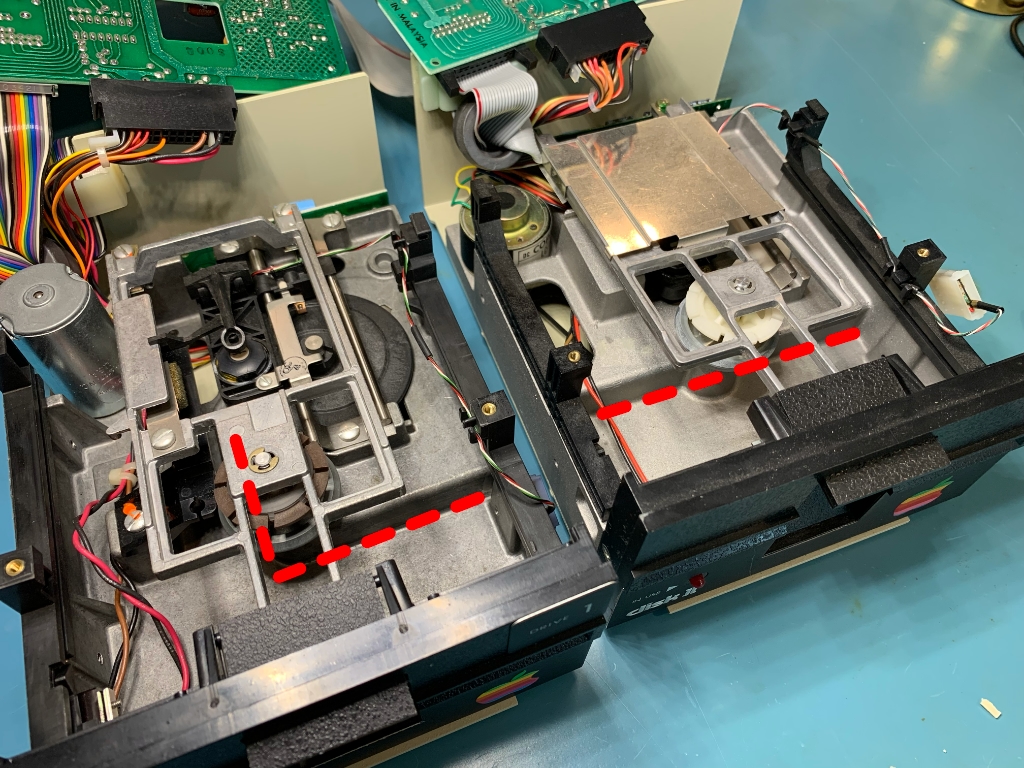
As you may have noticed, the Disk II drive is shown twice in that list. That is because early drives used Shugart mechanisms, and later ones used an Alps mechanism. Thee Shugart ones tended to have a rainbow-colored cable whereas the Alps had the gray cable, but that isn’t a guarantee as to which mechanism is really in your drive. Luckily, you can peek through the door on the front with a flashlight and see the shape of the casing. There is a ledge next to the spindle that is part of the casing. On the Alps mechanism this ledge exists on both the left and right side of the spindle (right side drive in picture below). The Shugart mechanism only has it on the right side (left side drive in picture below).
How do I install a Sync Sensor?
Installation of a sync sensor does not modify the functionality or compatibility of your floppy drive. It will still work just fine with your Apple II or Mac. A sync sensor is electrically isolated from the drive electronics.
Installing sync sensors into your floppy drive isn’t a terribly difficult process, and doesn’t require soldering. But it does involve you partially disassembling your floppy drive. If you are not comfortable doing that, you might be best off seeking some help. There are companies like ReActiveMicro.com that provide sync sensor installation and floppy drive cleaning/tune ups.
You will need a Philips screwdriver #2, scissors or wire cutters, isopropyl alcohol and some cotton swabs to perform the installation.
Detailed instructions for installing each of the sync sensors can be found by clicking the images below.
When installing the sync sensor, be sure that the face of the sensor (the beveled side) is sitting parallel to the magnet surface. The magnet needs to be passing the sensor from one beveled edge to the other. For best signal, you want the sensor to be within 1.5mm of the magnet.

How do I test that a Sync Sensor is working?
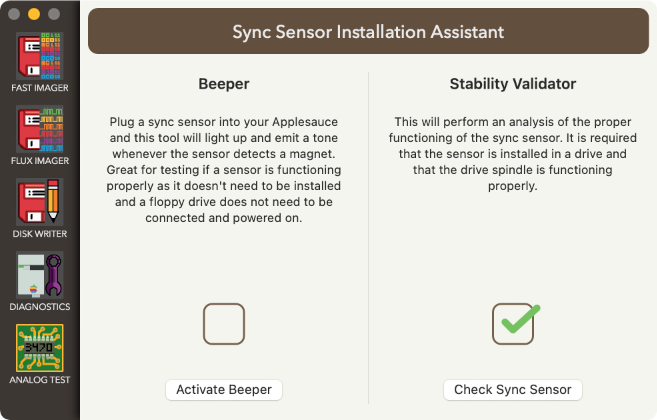
The Applesauce client software has a tool to help you with testing and the installation of sync sensors. Under the Drive menu, you can find the Sync Sensor Assistant. To use this, you will need to have your Applesauce plugged into your computer and your sync sensor connected to your Applesauce. The Beeper will emit a tone whenever it detects a magnet within sensor range, which is a few millimeters. This comes in very handy when installing your sensor as you can rotate the spindle back and forth to make sure that it is picking up the magnet consistently. After you have your drive closed back up after installation, you can run the Stability Validator that will run a longer test to make sure that it is working well.
How does a Sync Sensor work?
The sync sensors all use the same circuit, but are just shaped differently to allow them to fit into specific drive enclosures. They work by attaching a magnet to the drive spindle and then using a hall effect sensor to send a signal whenever the sensor detects the magnet. The sync sensor also contains a 10KΩ resistor that is used as a pull-up on the signal output. The Applesauce hardware is triggered on the falling edge of the signal and the pulse width is recommended to be at least 500µs.
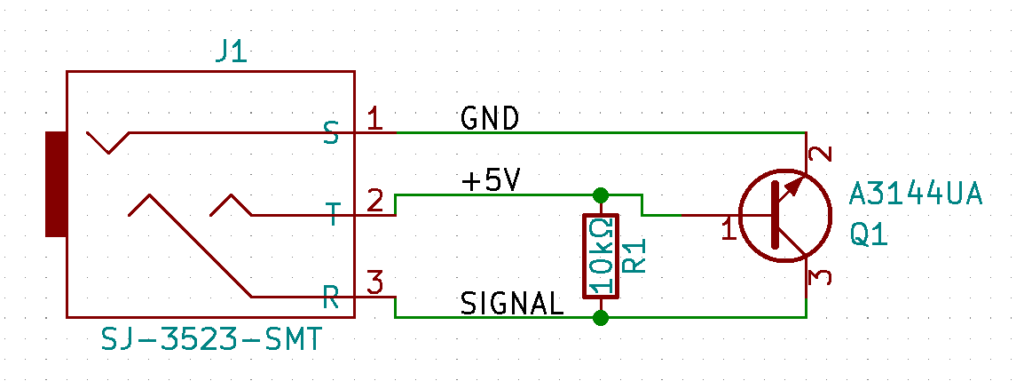
If you are interested in fabricating your own sync sensors, here are there Gerber files for all of the sync sensors we make. The BOM for all of them is identical.
- A3144 Hall Effect Sensor
- Audio Jack (CUI SJ-3523-SMT-TR) You can purchase from Mouser or elsewhere.
- SMT Resistor 10kΩ 1/4W 5% 1206
- 3.5mm (1/8″) Stereo Audio Cable 1m. You want to make sure that the cable is flat or you won’t be able to close up the case. The head should have a diameter no wider than 8mm.
- 1/2″ wide mounting tape (the good stuff like 3M, not cheap junk)
- Adhesive-backed Magnet
